
Today I'm showing you how I made the Scales cushion case. Here you'll find links to the other tutorials for the cushions.
Fabrics Needed
As with all the cushions in this series, the fabrics you need are black and white. Of course you can use other solids as well, even small prints might work for you.Cutting...
Cut the following pieces (from top to bottom): |
| Fabrics needed for Scales Cushion |
(6) 2.5" squares in black
(3) 1.25" strips in white
(4) 1" strips in black
(5) 2" strips in white
(6) 1.5" strips in black
(6) 1.25" strips in white
plus (8) 1" strips in black for sashing (not in the picture)
I calculated these measurements for normal 42"-44" wide fabrics, as I worked with wide fabrics when I made this cushion.
...and Sewing
First, take one of the white 1.25" strips and put it under your presser foot. Then take one of the black 2.5" squares and lay it right sides together on the bottom of the strip (as you are working with solids, there basically is no right side). Now you can sew the two pieces together and when you get to the end of the black square, just add the next one with a little gap between them, as is shown here: |
| "Chain"-piecing the squares |
Once you've chain-pieced all six squares, cut them off the strip between the little gap, turn them around and add a white strip on the opposite side as well. Make sure you place them the right sides together underneath the strip! Again sew the strip to all six squares, then cut them loose. Press the strip with the seams outwards and cut back the white strips on the edge if necessary. It doesn't matter if you use scissors or a rotary cutter for that. However, I prefer to use a ruler and rotary cutter, especially if the strips are a bit wider.
This is how your "square" should look like by now:
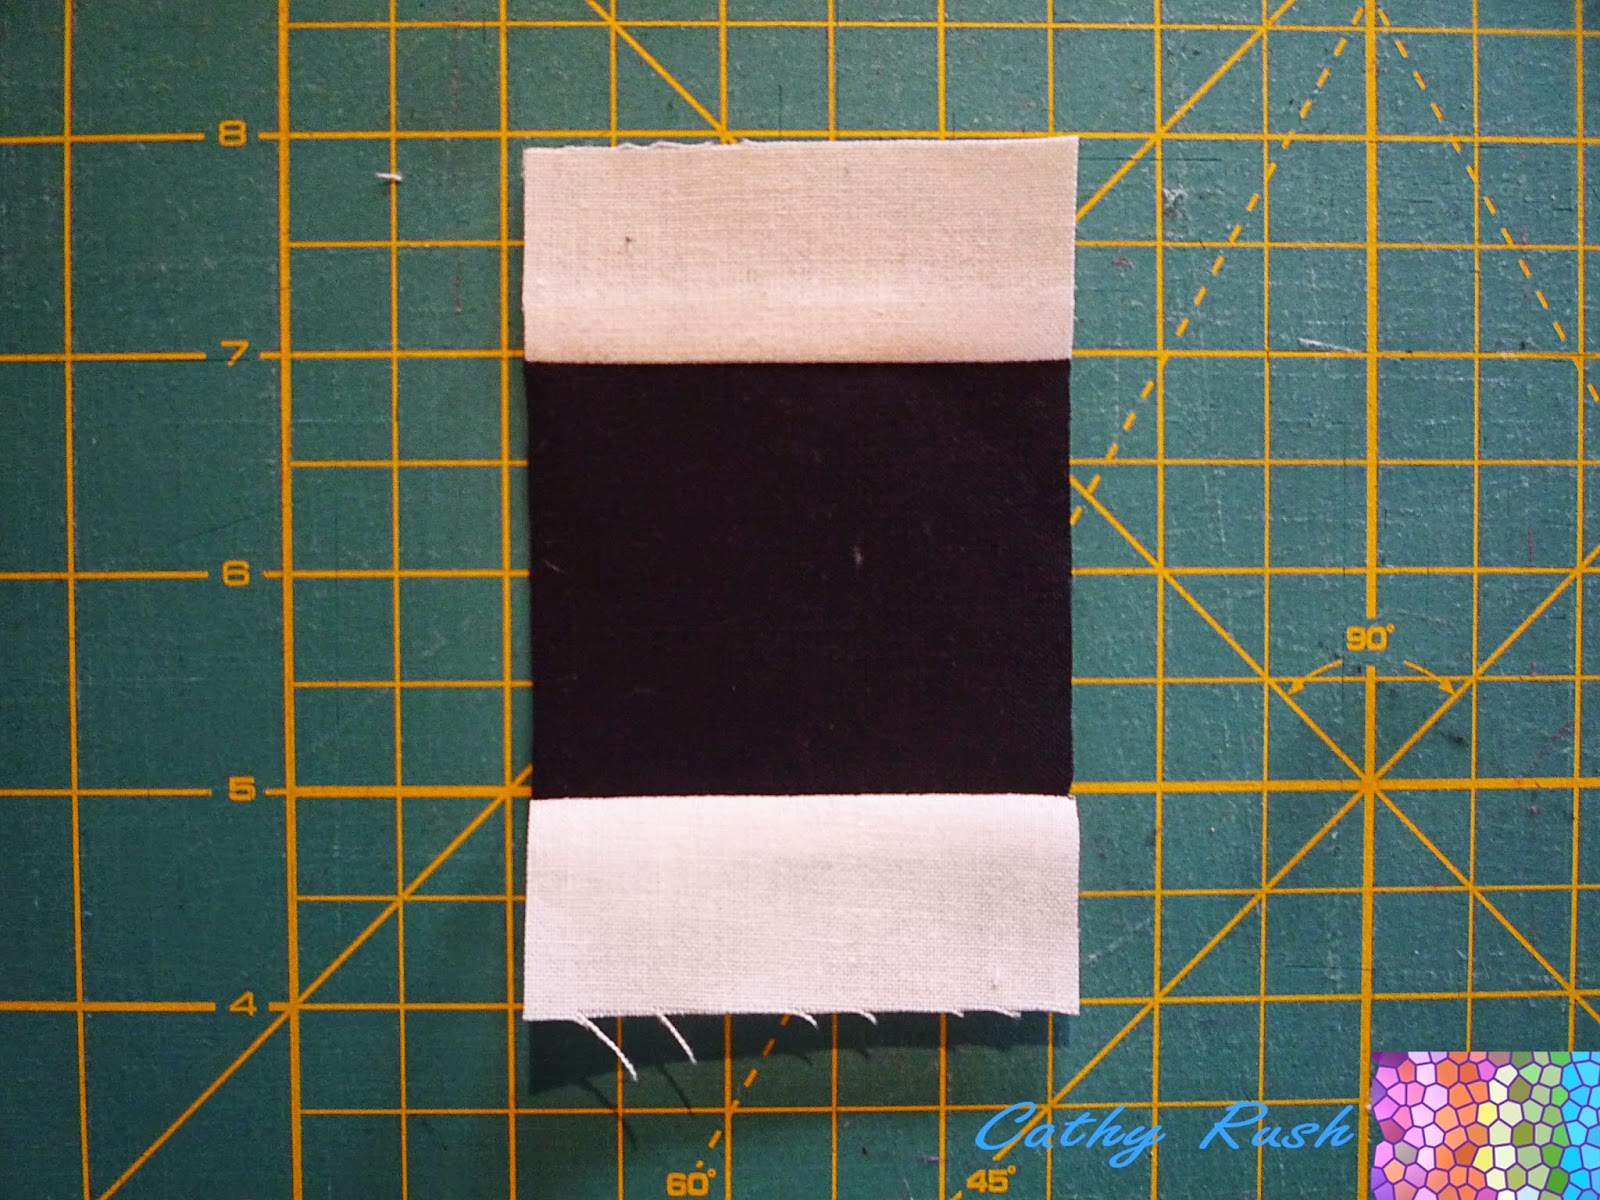 |
| Squares with two sides added |
Now that you come this far, it's basically all boring, boring repetition!
Again, place a white 1.25" strip underneath your presser foot, put the "squares" underneath it and sew on one side of the as of yet black sides, cut them loose, repeat on the other side, then press both strips outwards. Your block should now look like this:
 |
| First Round Done |
Now take a 1" strip in black and sew it on two sides of the block. Press the seams outwards:
 |
| Second Round Halfway Done |
Now sew the 1" black strip to the other two sides, again press the seams outwards.
 |
| Second Round Done |
Proceed by taking the 2" white strips and sew them to the block on two opposite sides, cut them off, press the seams outwards.
 |
| Third Round Halfway Done |
Add the 2" strips on the other sides as well, pressing the seams outwards.
 |
| Third Round Done |
Can you guess what you'll have to do next??
Right, take the 1.5" black strips and sew them to two opposite sides of the block, press the seams outwards.¨
 |
| Fourth Round Halfway Done |
Now of course do the same to the other two sides.
 |
| Fourth Round Done |
For the last time, take a 1.25" white strip and add it to two opposite sides and press the seams outwards.
 |
| Fifth Round Halfway Done |
Repeat on the other two sides, cut them off and press the seams outwards.
Now you should have six blocks that look like this:
 |
| Finished (?!) Block |
Now measure your blocks. They should be around 11.5". Mine were a bit smaller, because I use a 1/4" presser foot with guide and as I can't move my needle (yeah, it's a very basic model, I've been saving up for a new one for a while) my seams are a bit fat. However, as long as they are consistent and you're only sewing for yourself, that's not a problem!
In the next tutorial, you'll learn how to turn these blocks into this cushion:
 |
| Finished Scales Cushion |
All the best,
Cat.
Post the second part already!!! I am on tenterhooks...
ReplyDeleteLove the way you think ;-p