Still Sewing
Last time, we left off at this stage: |
| The blocks from Tutorial 1 |
You've measured them and made sure that they're all about the same size, ideally 11.5". Now divide that measurement by two (5.75") and cut the block into four equal squares. Make sure that the black middle square is about 1" big in all four pieces. Cut the other five blocks as well.
 |
| Block cut in 4 |
Now it's time to add the 1" black sashing strips. Put one of the strips under the pressing foot of your sewing machine, then add one of the small squares underneath this strip. Make sure that the black middle square is to the bottom right. Repeat this for 18 of the blocks, leaving 6 without a sashing strip. Then sew these blocks together, keeping them all in the same direction:
 |
| Sashing added between Blocks |
You'll need two strips of 6 blocks, two of 4 and two of 2 blocks. Make sure the blocks without the sashing strip are at the end of the strip.
 |
| Finished strip sizes, two of each |
Now you arrange them (counting the blocks in a strip) 2-4-6-6-4-2 on point. Add sashing between the different strips on the longer side of the two joining strips (blue arrows). On one of the middle strips with 6 blocks you'll have to add a sashing strip on both sides (green arrow).
 |
| Where to Add Sashing between the Strips |
First, sew them together in pairs, then sew the different pairs to one whole piece. You can make sure that the sashing strips align perfectly by marking the connecting points and pinning the two sides together.
Press the seams towards the light, so that the sashing strip lies flat on the back.
 |
| Pieced Top Finished |
Now all you have to do is cut the piece to size (20"x20"). I started off by cutting down the left side of the piece (blue line) and then the top (green). Then I measured 20" on the two remaining sides.
Measure at least twice before you cut and make sure you have nice 90° angles. If you misscut, you might have to start from the beginning again! (No pressure! *lol*)
 |
| Cutting Down to Size |
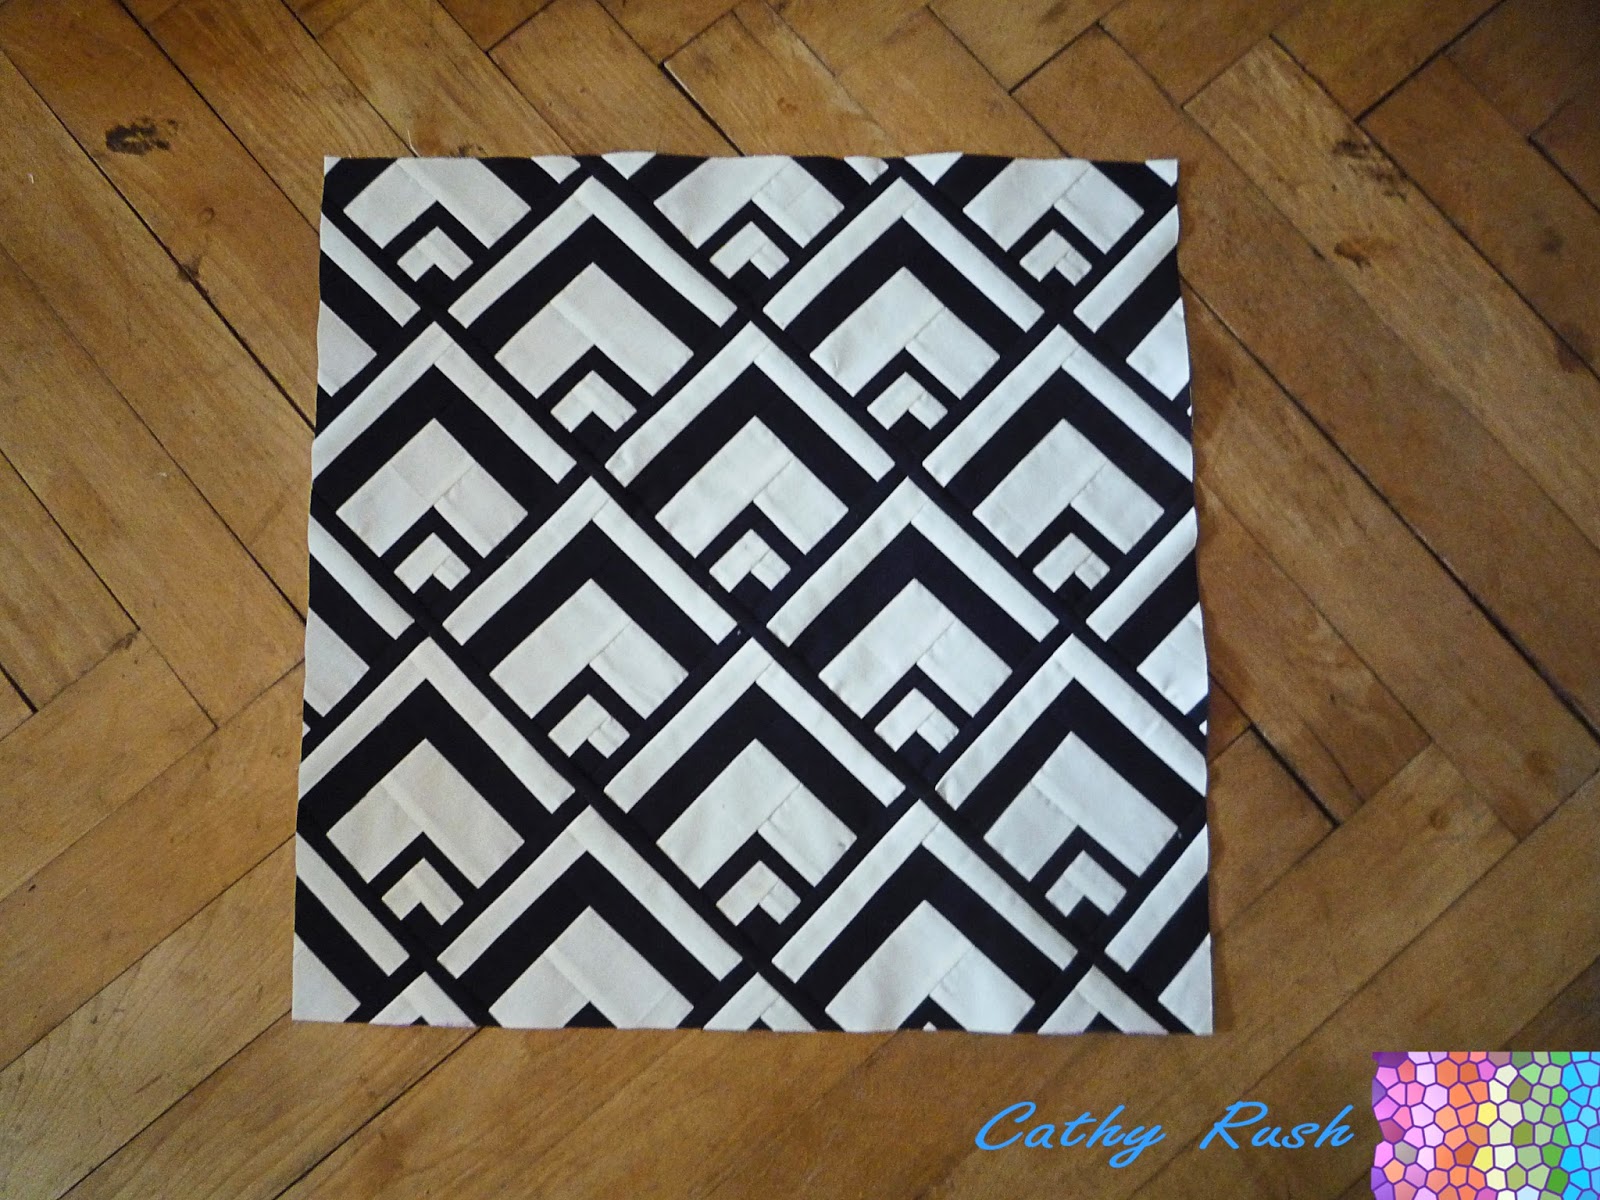
And this is how the 20"x20" piece looks like:
 |
| Cushion Top Finished |
Now you can add a batting of your choice and "quilt it as desired". I kept it simple and just SITD along both sides of the sashing to attach it to the batting.
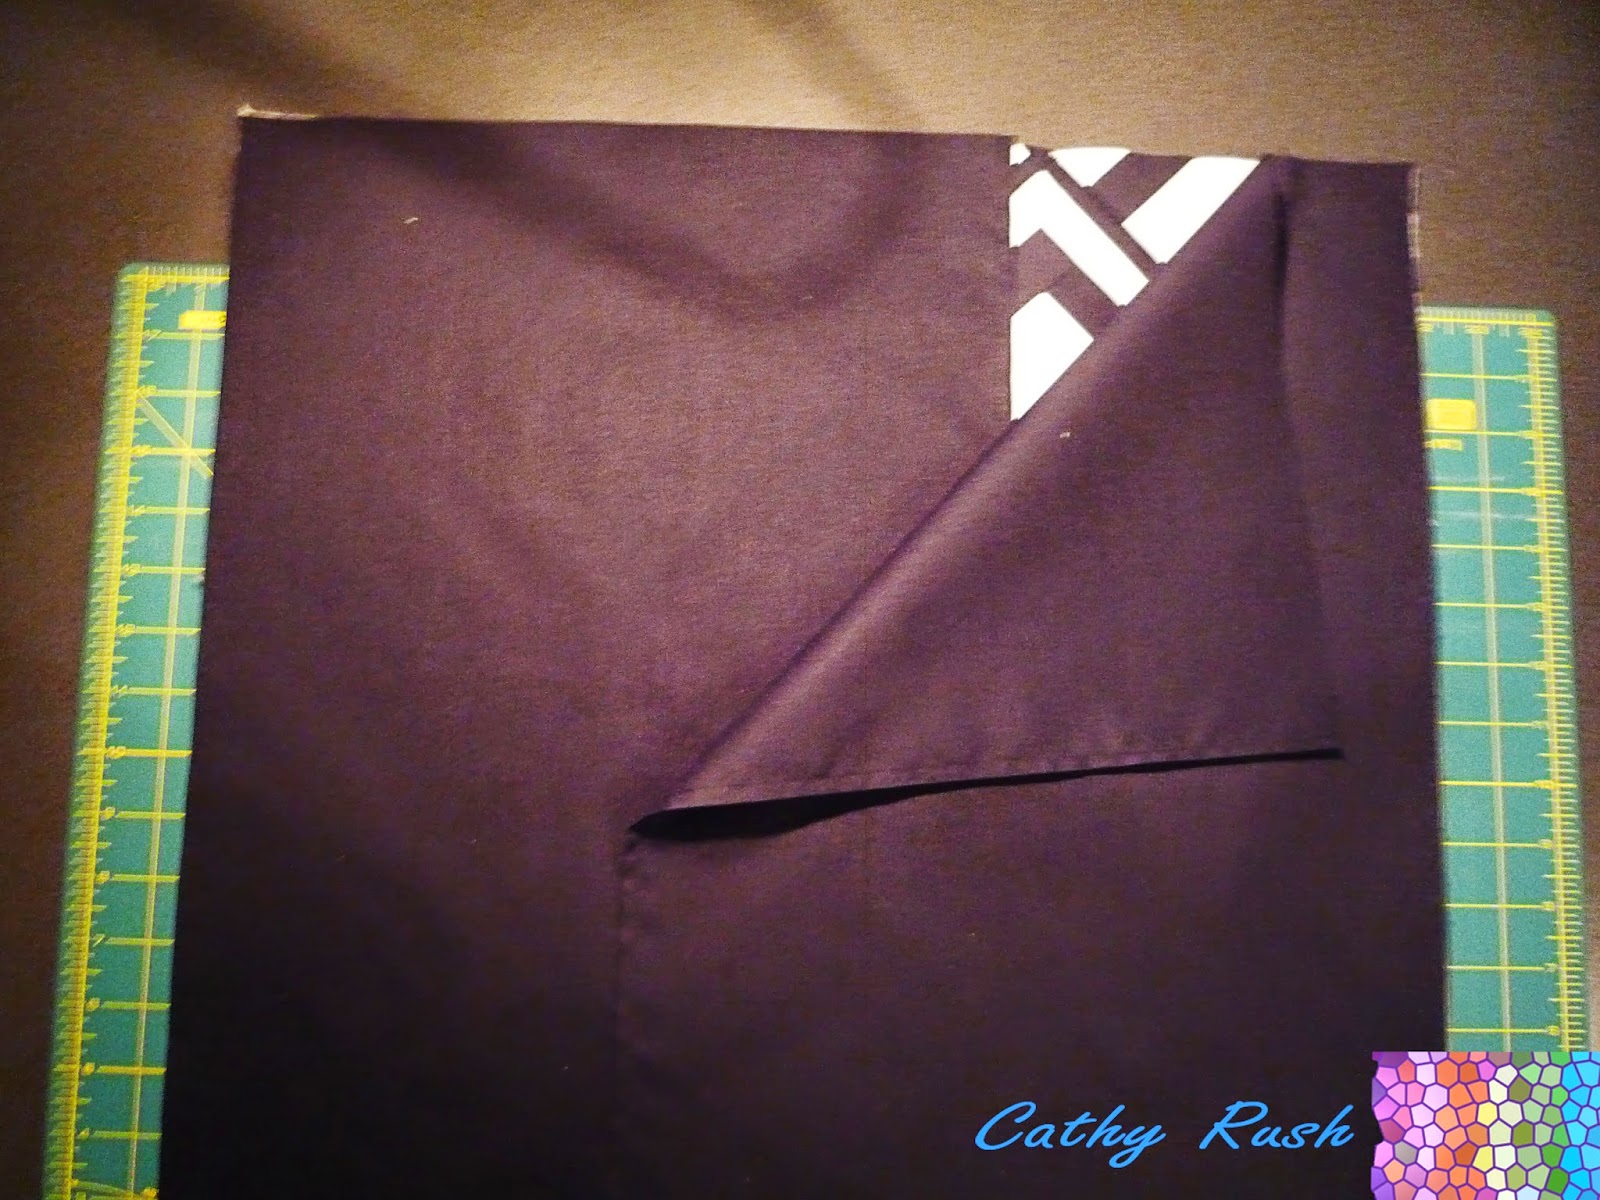
For the back of the cushion cut two pieces the 20"x26". Press them in half (20"x13") and topstitch along the folded line about 1/4" in. Lie the two pieces on top of the quilted Scales piece, so that they overlap in the middle. Stitch along the the outside (also with a 1/4" seam allowance). You might want to go back over and secure the corners and especially the overlap of the two back pieces, as these are the stress points.
 |
| Adding the Back of the Case |
Turn it inside out and put a cushion in it and voilà, here is your finished pillow:
 |
| Finished Scales Cushion |
Have fun recreating the same or similar pillow cover! And make sure to share it with me!
All the best,
Cat.

No comments:
Post a Comment