Showing posts with label new. Show all posts

Friday, 12 September 2014

Falling Waves From Hell

Today I'll tell you about the...(let me count) third quilt I made.

Let's just say: This one wasn't pretty! I basically hated every single step of the process!

Here's a first glimps of the culprit:

Falling Waves Quilt
 Looks innocent enough, doesn't it? If only it were so...


The Fabric


I found different fabrics in the sales bin at my local quilt shop. They were being sold for $5/m - which is a great deal in an area where fabric is sold for $24/m! I bought three fabrics in shades of pink because I thought they would work together nicely. Definitely not my favourite colour scheme, but it was - comparably - cheap!


The Piecing


This quilt was actually all about practice! I planned (and still plan) to make a quilt with HRTs (Half Rectangle Triangles), but they are not that easy to make without loosing all the points. So I decided to pratcise with HSTs (Half Square Triangles).

I used - what could possibly be described as - the traditional way of making HSTs: put two squares on top of each other, sew down the diagonal twice 1/4" from the middle.

I didn't calculate that every two squares sewn together that way would also yield two HSTs and I ended up with far too many! I was planning on a baby quilt, but now it's closer to the size of a lap quilt!

You can imagine that it took me a long, long time to sew them together, press them (half to the dark, the other half to the white) and square them up! I think I went through a whole audiobook. That's over 30 hours!

I was already fed up just looking at them!

Falling Waves in all its Hellish Glory

Then came the sewing them all together part. I hadn't met the 1/4" seam (or just a consistent near 1/4" seam) yet. Need I say more? Nope, it's blatantly clear I did a lot of ripping, re-sewing, re-ripping and re-sewing of these stupid pink fabrics I didn't like to begin with, sprinkled with imaginative swearing, groaning and foot stomping.

That's also when I learned: There's a moment when you just have to let that idea of all perfect points go and move on! And move on I did - quiet happily I might add!


The Backing


Having many leftover HSTs I decided to incorporate same of them in the backing. I decided to go with a strip with an easy heart design. The design and making of the back was probably the most fun part for me. No major hiccoughs either!

Back of the Falling Waves Quilt


The Quilting


Oi vey!

I started off with simple stitch in the ditch - or in my case to the left or the right, over and through the ditch! But it looked a little unfinished so I decided to add a few more lines. Naturally, I didn't really manage to space them evenly. Oh, well, who said it was planned that way anyway?! :P

The Quilting on the Falling Waves Quilt


Of course the whole quilting process didn't go smoothly. Somehow the spare backing and batting got caught in the quilting not once, not twice, but seven times!

More swearing, groaning and foot stomping ensued.

And out came my much used and dearly hated seam ripper!

I don't know why, it never happened before this quilt and never ever after this one (touch wood!).

Let's just say I'm very happy I got this quilt finished (big woohoo!) and bound and stored away!


I still have quiet a few pink HSTs left over in a baggy somewhere. I might pull myself together some time and make a few pillows are mini quilts out of them. Maybe when I'm finally gifting that quilt to someone...


All the best,
Cat.

Friday, 5 September 2014

Scales Cushion Tutorial Part 1

Hi there!

Today I'm showing you how I made the Scales cushion case. Here you'll find links to the other tutorials for the cushions.


Fabrics Needed

As with all the cushions in this series, the fabrics you need are black and white. Of course you can use other solids as well, even small prints might work for you.

Cutting...

Cut the following pieces (from top to bottom):


Fabrics needed for Scales Cushion


(6) 2.5" squares in black
(3) 1.25" strips in white
(4) 1" strips in black
(5) 2" strips in white
(6) 1.5" strips in black
(6) 1.25" strips in white
plus (8) 1" strips in black for sashing (not in the picture)

I calculated these measurements for normal 42"-44" wide fabrics, as I worked with wide fabrics when I made this cushion.

...and Sewing

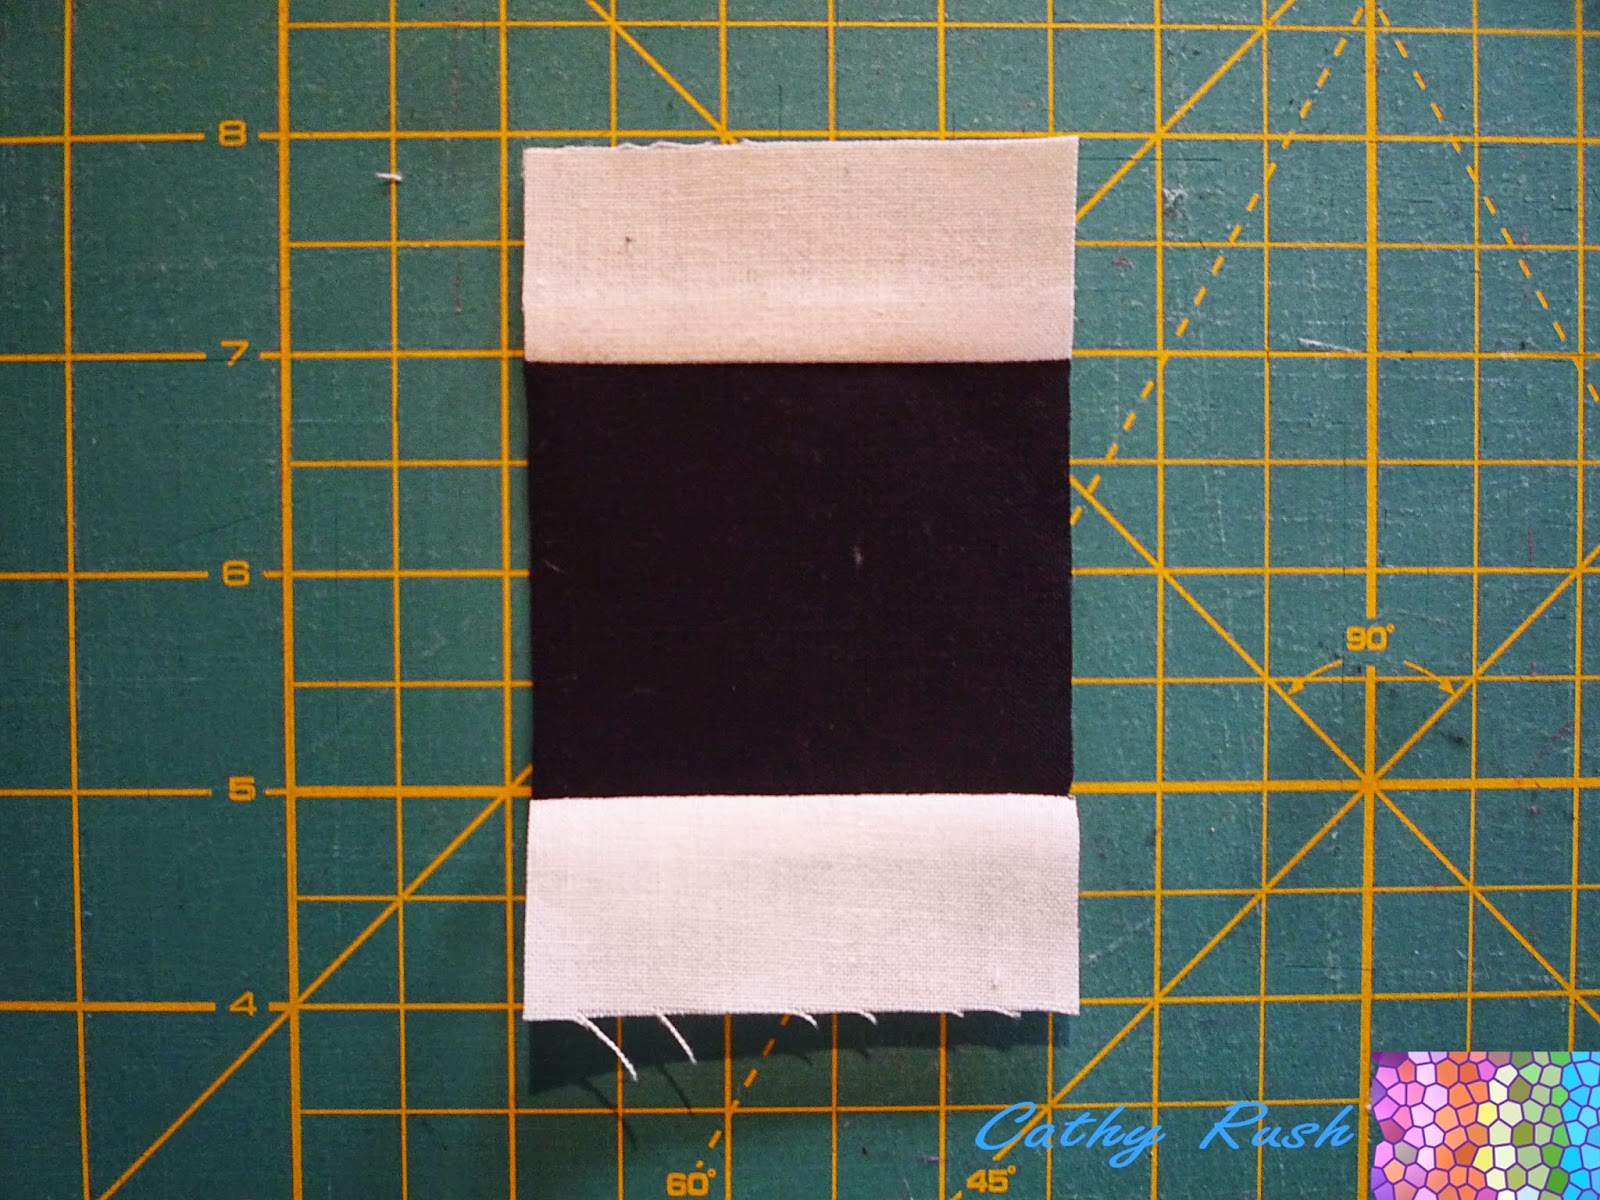
First, take one of the white 1.25" strips and put it under your presser foot. Then take one of the black 2.5" squares and lay it right sides together on the bottom of the strip (as you are working with solids, there basically is no right side). Now you can sew the two pieces together and when you get to the end of the black square, just add the next one with a little gap between them, as is shown here:

"Chain"-piecing the squares

Once you've chain-pieced all six squares, cut them off the strip between the little gap, turn them around and add a white strip on the opposite side as well. Make sure you place them the right sides together underneath the strip! Again sew the strip to all six squares, then cut them loose. Press the strip with the seams outwards and cut back the white strips on the edge if necessary. It doesn't matter if you use scissors or a rotary cutter for that. However, I prefer to use a ruler and rotary cutter, especially if the strips are a bit wider.

This is how your "square" should look like by now:

Squares with two sides added

Now that you come this far, it's basically all boring, boring repetition!

Again, place a white 1.25" strip underneath your presser foot, put the "squares" underneath it and sew on one side of the as of yet black sides, cut them loose, repeat on the other side, then press both strips outwards. Your block should now look like this:

First Round Done

Now take a 1" strip in black and sew it on two sides of the block. Press the seams outwards:

Second Round Halfway Done

Now sew the 1" black strip to the other two sides, again press the seams outwards.

Second Round Done

Proceed by taking the 2" white strips and sew them to the block on two opposite sides, cut them off, press the seams outwards.

Third Round Halfway Done

Add the 2" strips on the other sides as well, pressing the seams outwards.

Third Round Done

Can you guess what you'll have to do next??

Right, take the 1.5" black strips and sew them to two opposite sides of the block, press the seams outwards.¨

Fourth Round Halfway Done

Now of course do the same to the other two sides.

Fourth Round Done

For the last time, take a 1.25" white strip and add it to two opposite sides and press the seams outwards.

Fifth Round Halfway Done

Repeat on the other two sides, cut them off and press the seams outwards.

Now you should have six blocks that look like this:

Finished (?!) Block

Now measure your blocks. They should be around 11.5". Mine were a bit smaller, because I use a 1/4" presser foot with guide and as I can't move my needle (yeah, it's a very basic model, I've been saving up for a new one for a while) my seams are a bit fat. However, as long as they are consistent and you're only sewing for yourself, that's not a problem!

In the next tutorial, you'll learn how to turn these blocks into this cushion:

Finished Scales Cushion


All the best,
Cat.

Sunday, 22 June 2014

Argyle Pattern with Precuts

Welcome to another quilt tutorial I came up with a while ago.

This time it's for a square argyle with precuts. Let's get to it!

Fabrics Needed

You'll need three fabrics. I think it would look best if you used solids or near solids (marbles, tiny polka dots, very small non-directional prints). I used - what a surprise! - blue, red and black from my Ikea fabric stash for this sample block.

Cutting and Sewing

Cut 2 1/2" WOF (width of fabric) from your blue and red fabrics.
Cut 1" WOF from your black fabric.
If you want to use precuts, get two solid jelly rolls and one solid honey bun. Even though the honey bun is 1 1/2" wide, this would still work for this pattern, as the black strip would still look good a little wider (see finished block further down).


First sew the red and blue strips together lengthwise. Set the seam and press to the dark side. Then cut 2 1/2" pieces crosswise.


Take two of the pieces, flip one over so that if you lay them next to each other it forms a checkerboard. Sew together. The seams will nest nicely and you can chain piece them all! When you press them open, you'll end up with classic 4 patches:
  

Take two of the 4 patches and lay them next to each other with the same colours touching. Then sew the black strip to the top of them both. Again, you can chain piece all of them. Cut the pieces and press. It doesn't really matter which way, there won't be any more nesting seams.


Take two more 4 patches and sew them on the other side of the black strip. Make sure that the same colours are "neighbours" again.


Now take one of the double 4 patches and sew on a black strip lengthwise. It doesn't really matter on which side, just make sure that you do all your blocks the same way! You can chain piece all of your blocks again. Cut them off and press.


Then add another double 4 patch on the other side. The colours should be "neighbours" again. Press.


And voilĂ , here's your finished block:


Its size is 9" unfinished and 8 1/2" finished.

Tipps and Tricks

  • When you chain piece, make sure you don't chain piece all the pieces. You usually need one half of them to add to the other side of the black strip.
  • Make sure you have music ready, your favourite radio station, audiobook or even TV show, because you'll be sitting there a while just chain piecing and chain piecing and chain piecing...
  • When adding the two sides of the block (or the two quadrants) together, you should make sure that the black cross lines up. Here is how I do it:
Take the piece with the added black strip and with a ruler and your fabric pen, elongate the seams to the edge.


Then measure 1/4" from the top of both sides. You now have 4 points you need to pin: the two intersections of the seams with the orange line on the top and the two orange crosses on the bottom. These are the ones we need to line up with each other.


Take a pin and stick it through the orange cross on the right, then through the orange/seam cross from the unmarked front to the marked back on the other piece. That way your right sides of the fabrics lay on top of each other. Repeat on the other side. These two positioning pins help you hold the fabrics together so you can pin left, right and middle. Before sewing, take out the two positioning pins.


Layout Ideas

You best set your blocks on point, joining them with more black strips like this:


In a finished quilt, it will look like this:
 
 
It would make a great baby quilt, maybe with softer colours.
 
If you want to make the squares bigger, just cut the strips wider. You can also use precuts such as charm packs or layer cakes, but than you might want to do it this way. But I think it is easier to use my strip method, as you have to cut less and also match less.

If you have any questions, just ask!

Best,
Cat

Friday, 20 June 2014

Arundel Tile Quilt Pattern

Hi there!

Today I'm sharing with you a little tutorial for an Arundel Tile Quilt pattern. It's apparently mostly used in hallways in Victorian homes (there aren't any around where I live unfortunately). Some examples of the tile pattern can be found on the Original Tile and Bathroom site.

So let's cut right to the chase!


Fabrics Needed

You start off with three different solids. I chose a rather classic combination: red, black and white. Firstly, that's because I quite like them. Secondly, well...I often use the cheapest fabric I can find to test out new ideas. And that happens to be Ikea's Ditte fabrics, which are only available in black, white, red and blue. So prepare yourself to see a lot of those colours around here! *lol*

Cutting and Sewing

Cut the white fabric into 6 1/2" squares.
Cut the black and red fabrics into 1 1/2" strips.

Make 4 patches with the black and red strips. I didn't take a picture of that, so here is a very, very short explanation: Sew a black to a red strip lengthwise, press to the black side, cut 1 1/2" pieces from the strip, take two of these, flip one around, lay them right sides together. The seams should nest nicely. Sew them all together, press open (this will make further construction easier). If you're new to this and have never made 4 patches, google it. Many tutorials will pop up.

For one block, you'll need one white square and four 4 patches:


Finger press the 4 patches diagonally.  You can also draw the line with a fabric pen or use your iron to do this. I like it quick and I prefer my fingers to be non-blistery, so I did it by hand. Whichever way is easiest for you, make sure you do them all along the same colour. I chose to fold them along the black squares.

Lay the four 4 patches along the corners of your square and sew them on along the fold line. Again, make sure that all of them point the same way - preferably before sewing them on!


Trim back the edges to 1/4"...

 
...and press the corners back:


And that's your finished block! Not too tricky, is it?

Tipps and Tricks

Just a few pointers to make your life easier when making this block:

  • I wouldn't make the block smaller, it already gets quiet nibbly with this size 4 patch.
  • If you press the middle seam of the 4 patch open, it is less thick when you're sewing them on. However, you have to actually sew straight over the fattest part of it, so hold tight.
  • Also, sew a little bit to the right of the line (towards the corner), especially in the middle. That way you won't loose your points - hopefully! :P
  • Trim the 4 patches before sewing them on and sew them on as accurately as possible. Otherwise your squares in a square won't line up properly and sewing the blocks together will be very frustrating!
  • Be careful not to distort your fabric when pressing. You might also want to starch your white fabric heavily. This way it is less floppy and will hold the heavy corners and thick seams better.
  • Make sure you use pins when sewing the blocks together (Yeah, I'm not really a fan of the added work either, but I really rather pin than frog!).

Layout Ideas

Here is a simple layout of four blocks:


You don't need them to be on point actually, as the middle naturally appears to be set on point.

I was faced with a triple threat when sewing these blocks together:
  1. I was very excited about the idea and wanted to get it done quickly.
  2. My iron chose this moment to be very stubborn and steamy (That's also the day it got the nickname "McSteamy"!).
  3. I had a serious problem with the tension on my machine and the whole middle seam got crunched together. And I was too lazy to re-do everything...
Oh, well, it was just a test block anyway. So don't you dare look too closely! :P


So that's what four blocks look like. Now let's see how it looks on a bigger scale:


It looks even better with some fancy borders:


Very classy look, don't you think?
 
If somebody tries it, please let me know how it is going!
 
All the best,
Cat